A Cello Build
This is a photo documentation of building my cello number 46 that I posted on an internet forum.
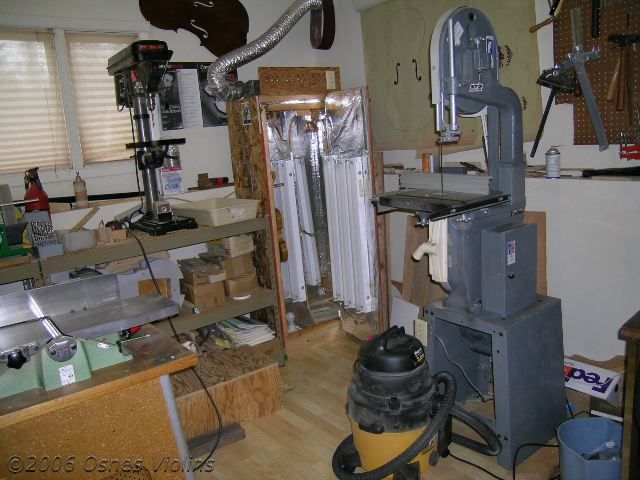
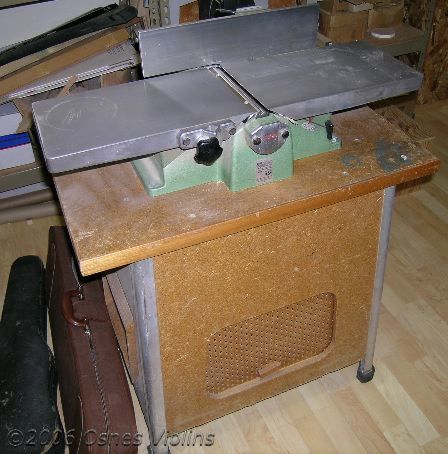
First, you need a shop. Here are a few pictures of my tools:
The first step is to gather all the materials needed. The top is Spruce from Europe. I have used a lot of Sitka Spruce from Prince of Wales Island in Alaska. Works great. I have also used Englemann Spruce for cello. This piece is kind of an experiment to see how it works for me.
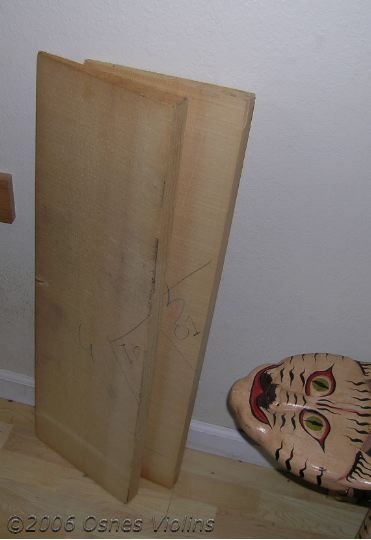
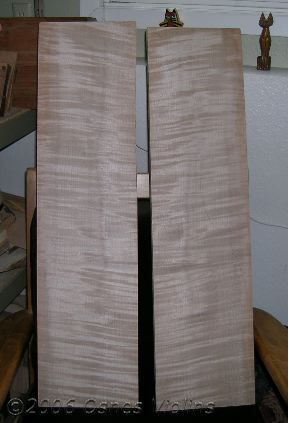
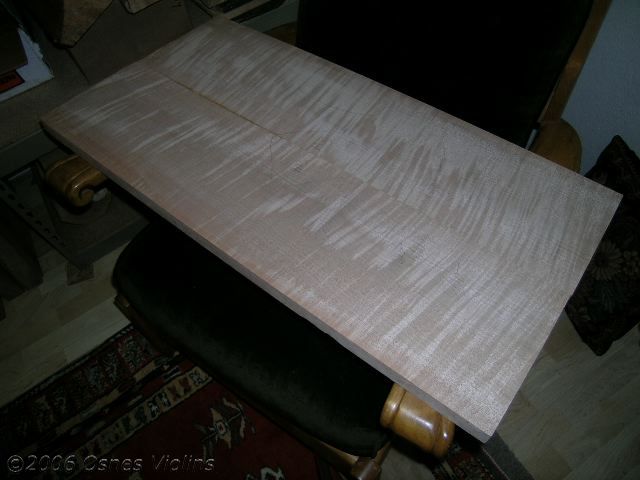
The Big Leaf Maple for the back came from a small sawmill in Port Angeles, Washington. The guy running the mill is now cutting cedar planks for broiling Salmon. Go figure...
The ribs I initially chose were from the estate of a European violinmaker and were about 70 years old. The runout was real bad, though, and they are now firewood.
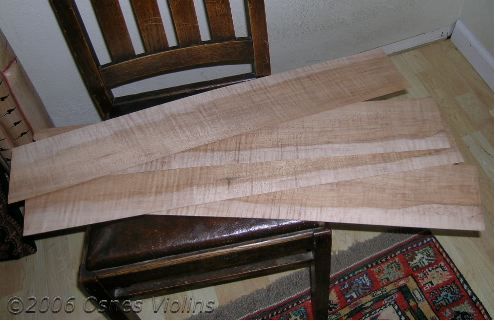
Expensive firewood. They split and cracked real bad when I tried to bend them. I chose some more Big Leaf Maple for the ribs.
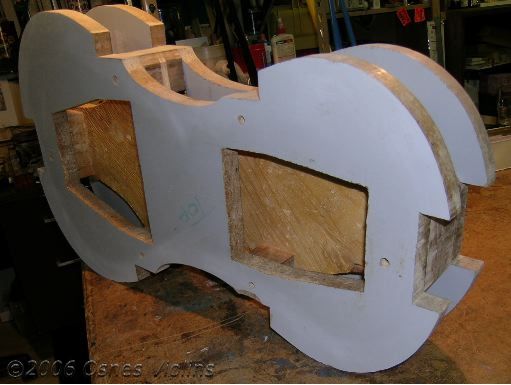
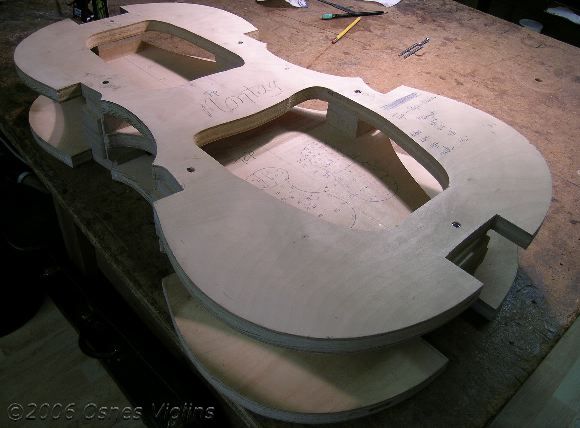
I started two cellos at the same time, a Montagnana model and a Stradivarius model. The Montagnana is quite large. I have a customer for the Strad model, so that is what most of the pictures will be from. Here are both molds...
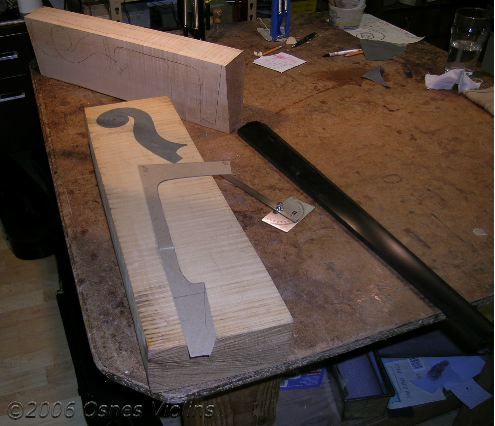
The neck material I am using is Red Maple. I mostly use European Maple for necks but The Red Maple seems to work out quite nicely. I've had experience with Big Leaf necks breaking, so unless I have a strong piece, I don't like to use it. I look for rather plain wood. It will carve so much easier.
I've separated this build into several sections. The section above is the Startup.
Next is:
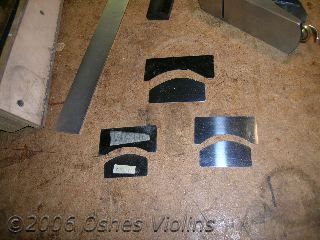
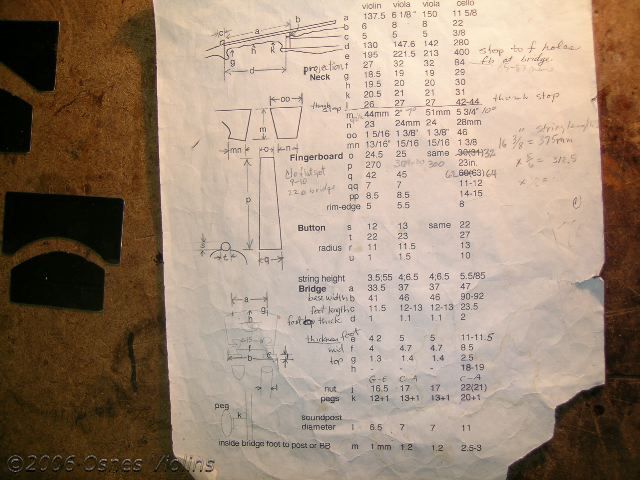
2. Fingerboard preparation
3. Carving a scroll
4. Mold set up
5. Bending the ribs
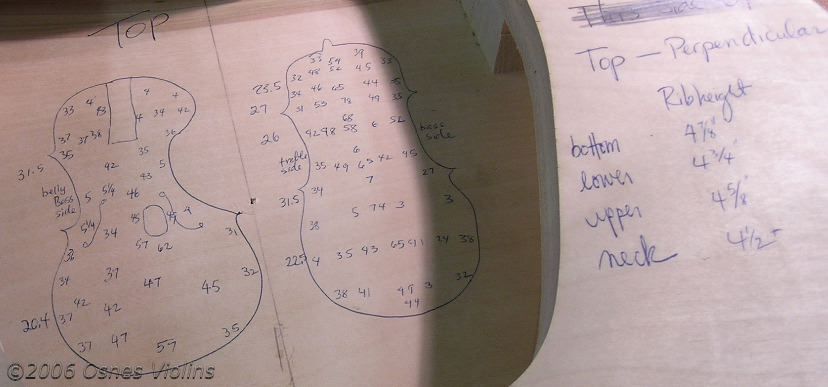
6. Top and back preparation
7. Arching Top & Back
8. Graduating the Plates
9. Purfling & Edges
10. Fitting the Neck
11. Varnish
12. Setup
I should finish the cello by the end of January, 2006. Varnish will take another month.
Home
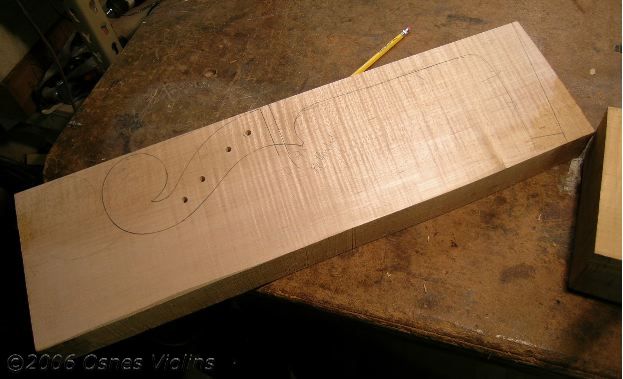
2.Fingerboard preparation