The next step is the fingerboard. These are supplied as oversized blanks from several sources. I don't have my notes with me, but I think this chunk originally started life as an Ebony tree in Africa. I purchased the piece in about 1998.
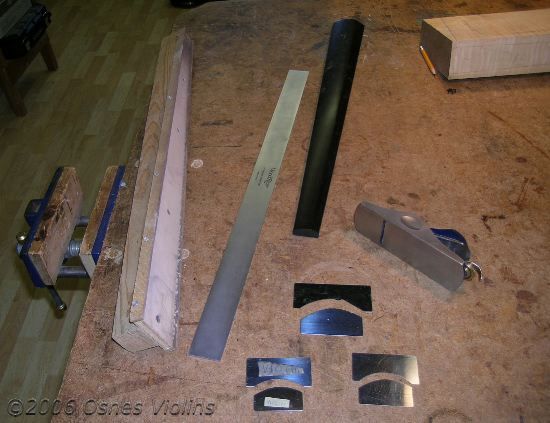
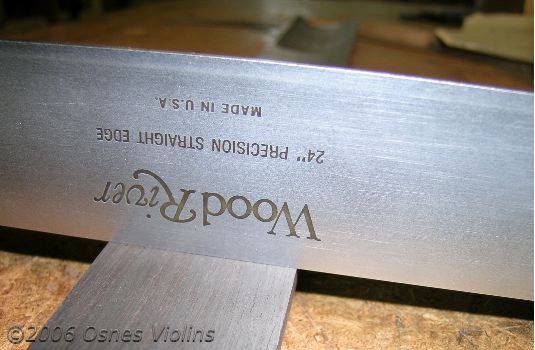
Tools needed are a straightedge, a plane, and a jig to hold the fingerboard.
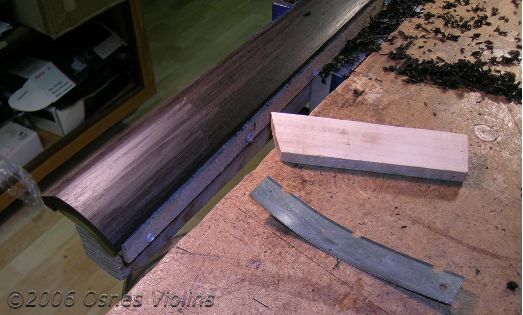
My first step is to flatten the gluing side in the jointer and trim the sides to spec. My sheet says 23 in. long, 32 mm. at the nut end and 64 mm. at the bridge end. At this time I take rasp and file and clean up the fingerboard ends, being careful not to chip or split any ebony.
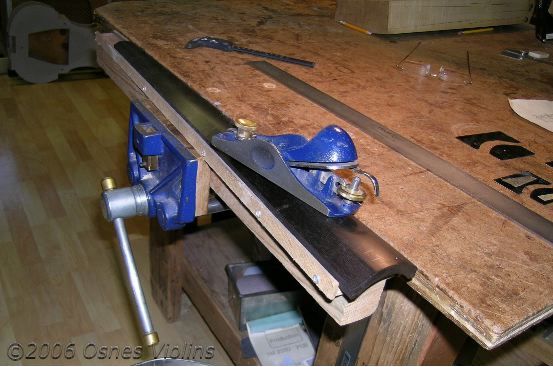
The next foto is the fingerboard in the jig ready to be planed. What you want is a hollowing or relief of the board about equal to the diameter of string that will touch at that spot. I sometimes have to go back when the cello is finished and plane again, so I'm not too fussy this time around.
I have a set of templates that match correct arching of the fingerboard.
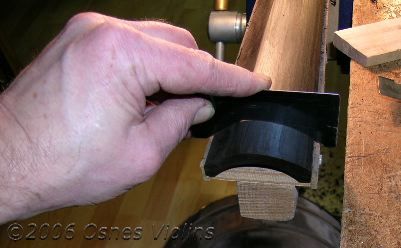
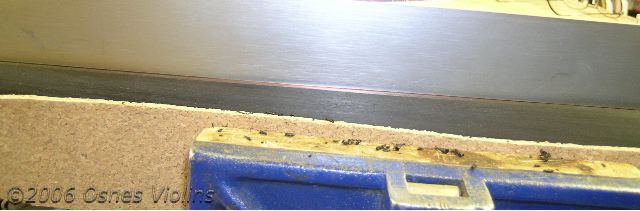
This next picture shows the scoop in the fingerboard. It is hard to photograph something black.
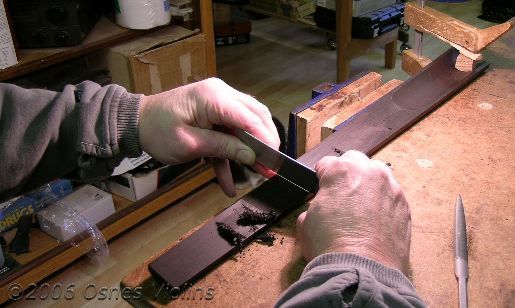
After planing I take a handmade scraper and remove the high spots. Sanding with 220 grit open coat paper with a backing board finishes the upper surface at this stage.
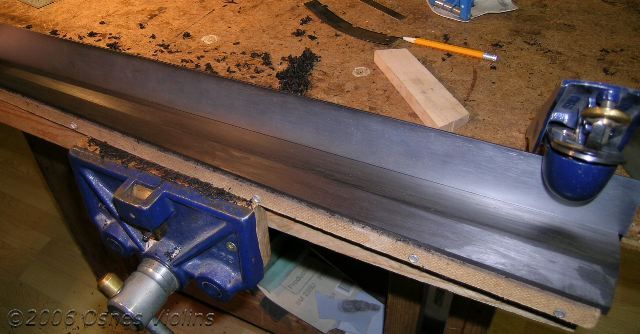
I also plane relief to both sides of the fingerboard.
This is a lousy picture. Hopefully it gives the right idea. What I'm showing is the edge of the fingerboard. This creates an optical illusion when you look at the fingerboard straight on. It appears thin and elegant. Whenever I see a fingerboard without side relief it looks pudgy.
The next step is to run the board through the jointer again to plane to the correct thickness. I try for an edge thickness of 8 mm.
I next scrape a slight concavity into the underside where the fingerboard gets glued to the neck.
 My fingerboard is now ready for glue and I set it aside until the scroll is all carved. That is the next step.
I do the whole neck setup first because of the way my light box is set up. When I hang a cello in my sun box to dry, the scroll will hang above the lights. Finishing it first allows me to hang it in the box for a week of tanning before I glue it to the box. During the winter there isn't much sun in Alaska...
I'm going a little out of my order and in one that makes more sense. The fingerboard work should segue nicely into carving of the scroll and neck.
Home
3.Carving a scroll