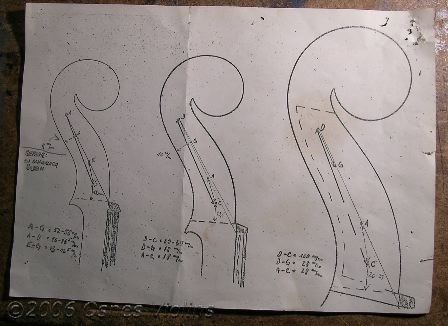
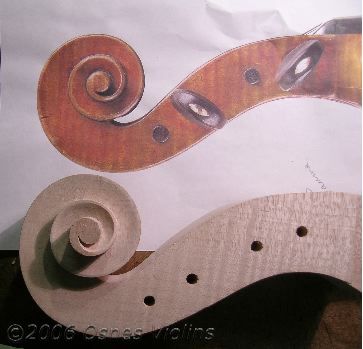
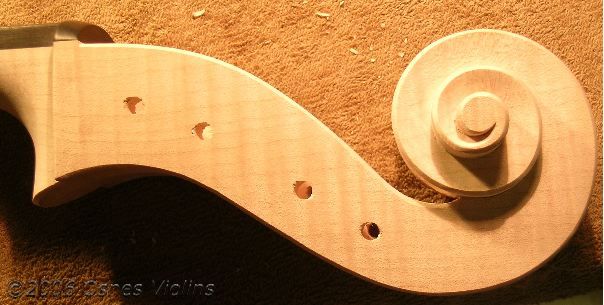
This document diagrams the spacing of the peg holes. The D and C holes are centered.
The C is 20-27 mm. from the line intersecting the edge of the nut perpendicular to the fingerboard joint. The distance from the D to C hole is 180mm. D,G, and A holes are all on one line. Finally the distance between the D and G is 28 mm. and likewise the distance between the A and C.
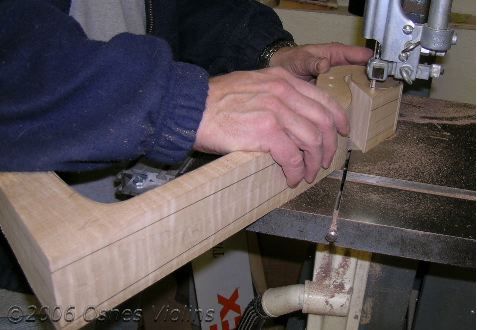
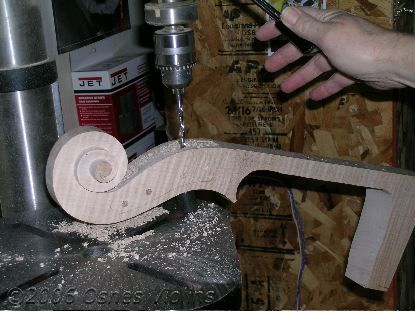
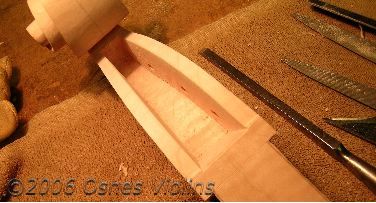
I square up my block to a width of 68 mm and the drill the holes with a drill press. This guarantees they will all be parallel.
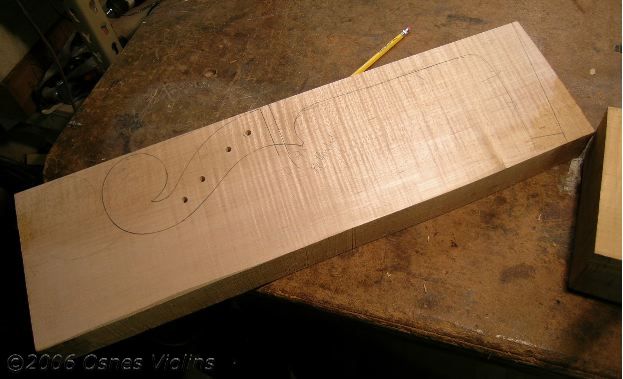
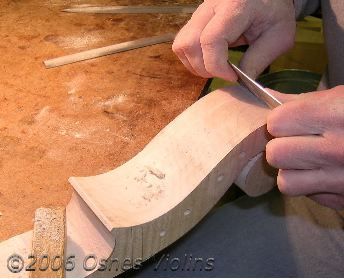
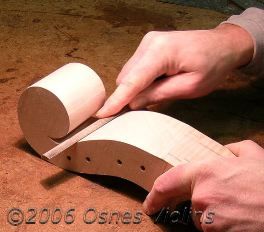
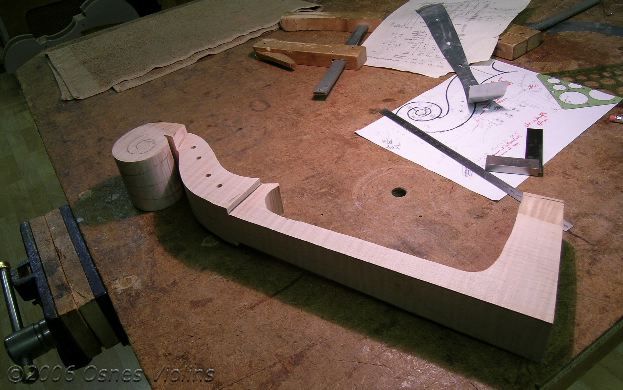
The angle at the body, unlike the violin, is a 10 degree cut.. I saw it off, then clean it up with a jointer, plane and sandpaper. After that, I draw the centerline...
I’m not sure this is very clear, but my center line is not perpendicular. It is 1.5 degrees off. I want my neck to tilt to the bass side. This isn’t all that important with the Strad model, but is with a wider model cello. The end result of this is that the bridge will be more even across the top of the instrument and there will be less of a tendency for the fiery cellist to knock a corner off with the bow. The A-string sits a lot closer to the fingerboard.
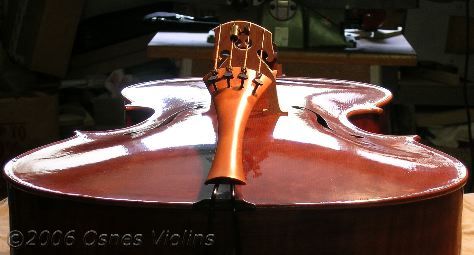
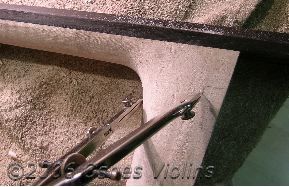
Here is a picture of my last Strad model cello. Even with the correction, the A string side of the bridge is lower.
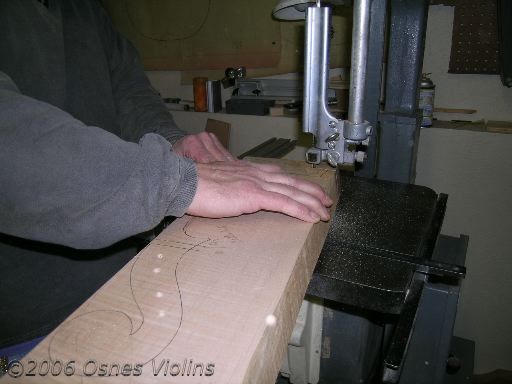
The next steps are to cut out the outline of the scroll.

Then I clean up the saw marks and draw the volute outline on the back of the head.
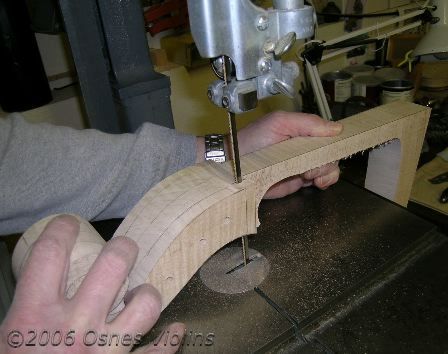
Saw out the fingerboard area and side of the pegbox. Leave plenty of room for the fingerboard.
Now I’m ready for the hand tools.

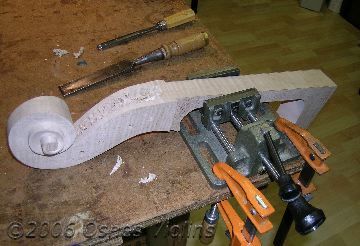
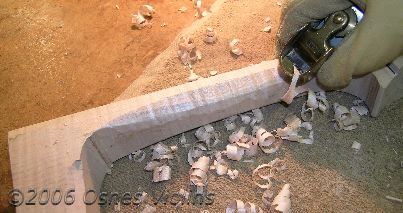
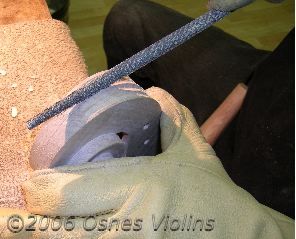
I saw around the first turn.

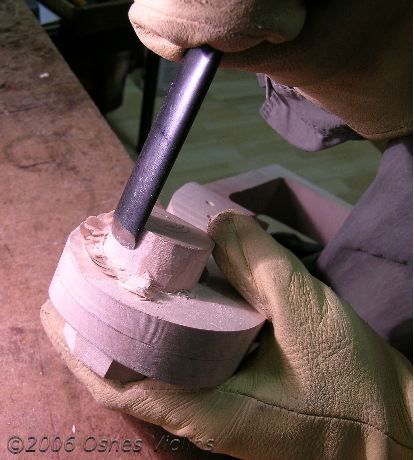
Next, I use gouges which approximate the curves that I’m cutting.


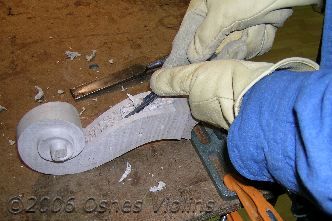
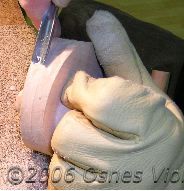
Lastly I clean it all up with scrapers of various sizes. Sometime, I even use sandpaper (gasp!).
Scrapers are fairly easy to use and leave a nicer surface.... especially if they are sharp.

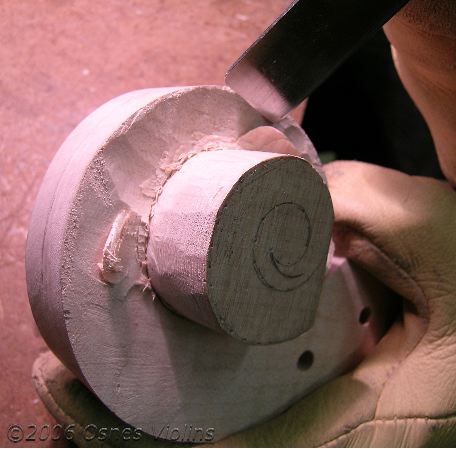
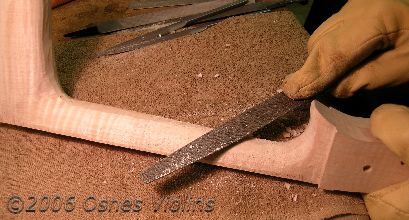
The next thing I do is to saw around the next loop and repeat the process with a set of tighter radius gouges.
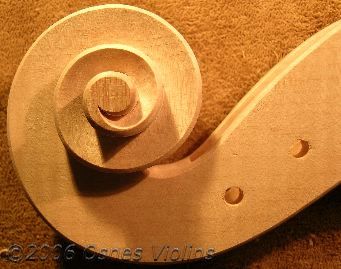
You keep going around the scroll getting narrower as you go. A good looking scroll progressively gets smaller as you approach the eye.
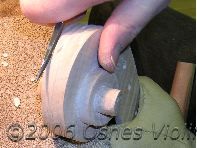
I had a picture of a Vuillaume scroll that I was going to look at as I carved, but in my zeal, I forgot all about it. I even forgot to take pictures, or eat for that matter...Here is how close I got. I like the finish of the eye better on the Vuillaume, but am pretty satisfied anyway.

Here are some of the carving tools.
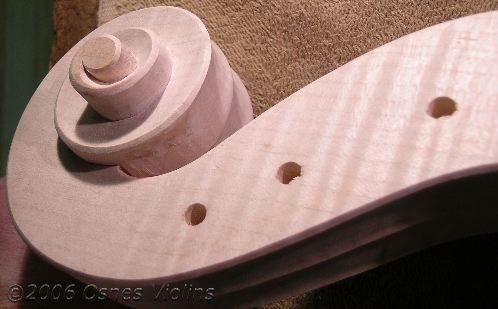
The next step is to drill the pegbox out with the drill press set up with a stop so you don’t go too far.
I clamp it up and use a tight curve gouge and start hogging out the pegbox.
In no time at all, the job is finished.
Next, I roughly shape the neck in any way I can.

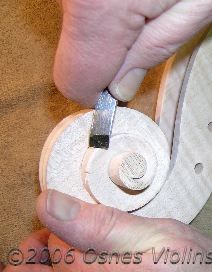
Then, I cut the volute. In one school I was at, they used a knife.
I had been using other methods for a long time by then. There is no set way to do these things. The end result is more what counts.
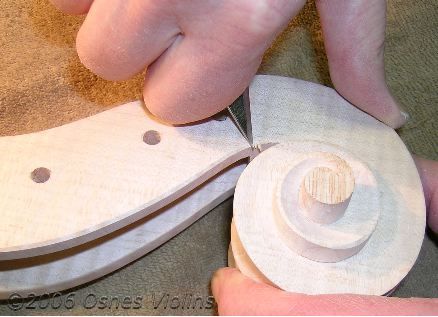
I use all of the above tools...
then scrape it flat.
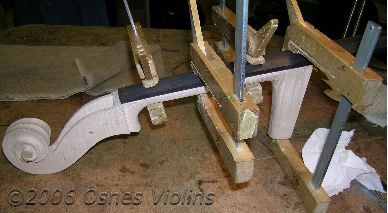
Gluing the fingerboard, I use three or four dabs of weak glue and then clamp her up. I want it to stay on just long enough for me to shape the neck and glue it to the body. Then I’m going to rip it off prior to varnishing.
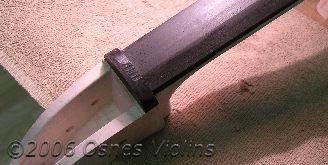
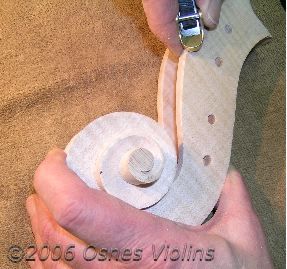
I also glue on a rough shaped nut. I glue this to the fingerboard with a spot or two of Tightbond... not to the neck.
Here is the nut after shaping with rasps and sandpaper.
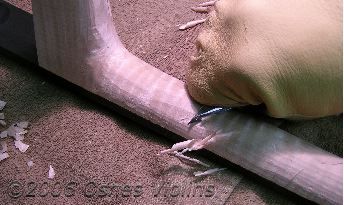
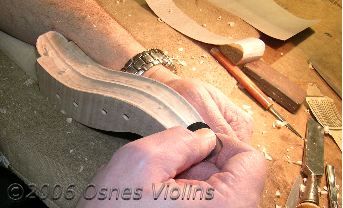
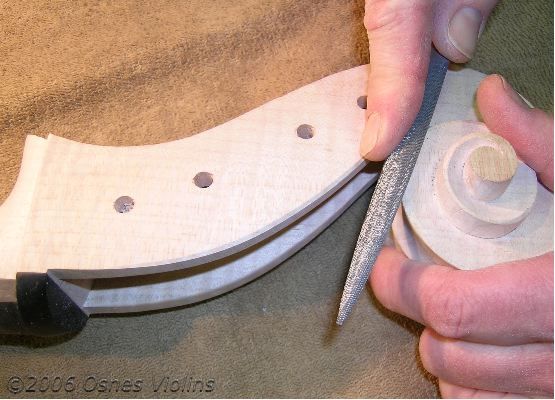
Shaping the neck involves knives, small planes, rasps and sandpaper.


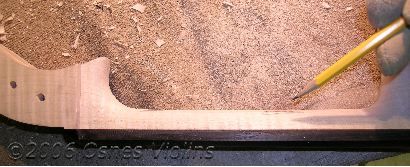
Where the neck joins the body, I use a plane to get a straight and perfect surface. This is cut down to finished dimensions.
Markings for distance to the nut and height of fingerboard are then penciled.
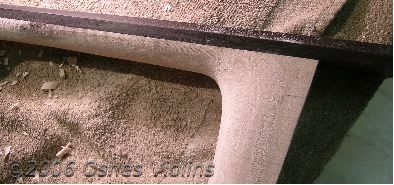
The thumbstop distance is also a critical measurement as is the shape at this spot. I had a good cellist in the shop and he agreed that the shifting spot felt quite good.
I sometimes rub high spots with a pencil as I’m shaping the neck. Remove the pencil marking and have another look.
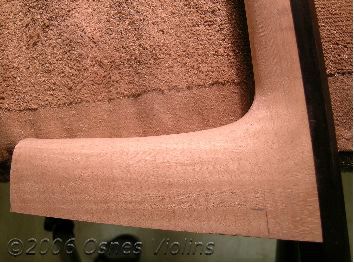
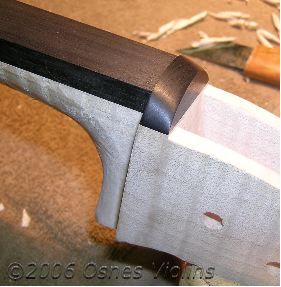
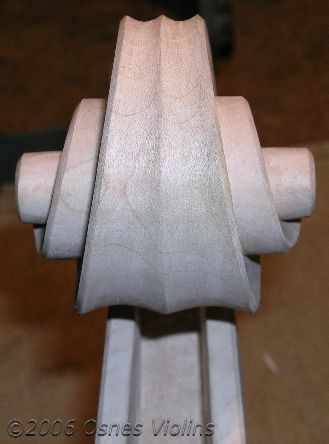
Here is the finished curve at the heel end.
Carving the Chamfer is the finishing step. Mine is about 2 mm and calls for a lot of attention. At this point, I’m also taking care of any irregularities in the outline.
The finished head.

A lot of this work is to personal taste.
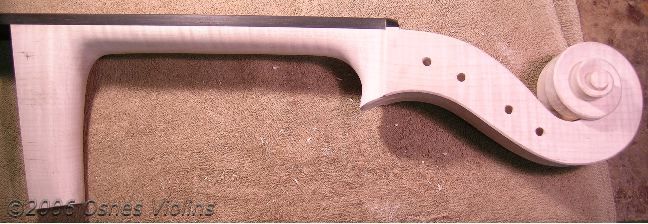
The finished neck.
Home
4.Mold set up